Set Meeting Management up on your network
Note: During the network setup via terminal, Meeting Management checks that input has the right format, but it does not perform a full verification. Please check the entered details carefully.
Note: The terminal assumes US keyboard layout. Be aware when you want to type special characters. For instance, if you have a UK keyboard, press SHIFT+2 to type @.
To set Meeting Management up on your network:
- Open the console for the VM you just deployed.
- To enter the setup, choose Next.
- Enter a hostname for your Meeting Mangement.
-
Choose whether you want to use IPv4.
-
Choose whether you want to use DHCP or Manual address acquisition.
-
If you chose Manual, enter IP address, Subnet mask, and Default gateway.
- Choose whether you want to use IPv6.
-
Choose whether you want to use SLAAC or Manual address acquisition.
-
If you chose to not use SLAAC, enter IP address, Prefix length, and Default gateway.
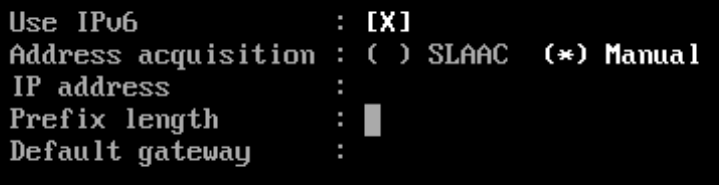
Note: Square brackets for IPv6 addresses are not allowed in these fields.
-
If required in your network, enter an IP address for a DNS server.
You can only add one DNS server during this setup, but you can add one more later via the browser interface.
Note: Square brackets for IPv6 addresses are not allowed in this field.
-
Go to Done and press enter. Wait for your Meeting Management to start.
The console will display one or more IP addresses, a set of generated credentials, and fingerprints for your self-signed certificate.
Note: It may take a few minutes before your Meeting Management is ready for you to sign in to the web interface.
Note: After you sign in to the web interface for the first time, the generated credentials are only displayed on the console until the first time you restart Meeting Management. We recommend that you change the password immediately after you sign in.